
How to Measure Viscosity: Step-by-Step Guide
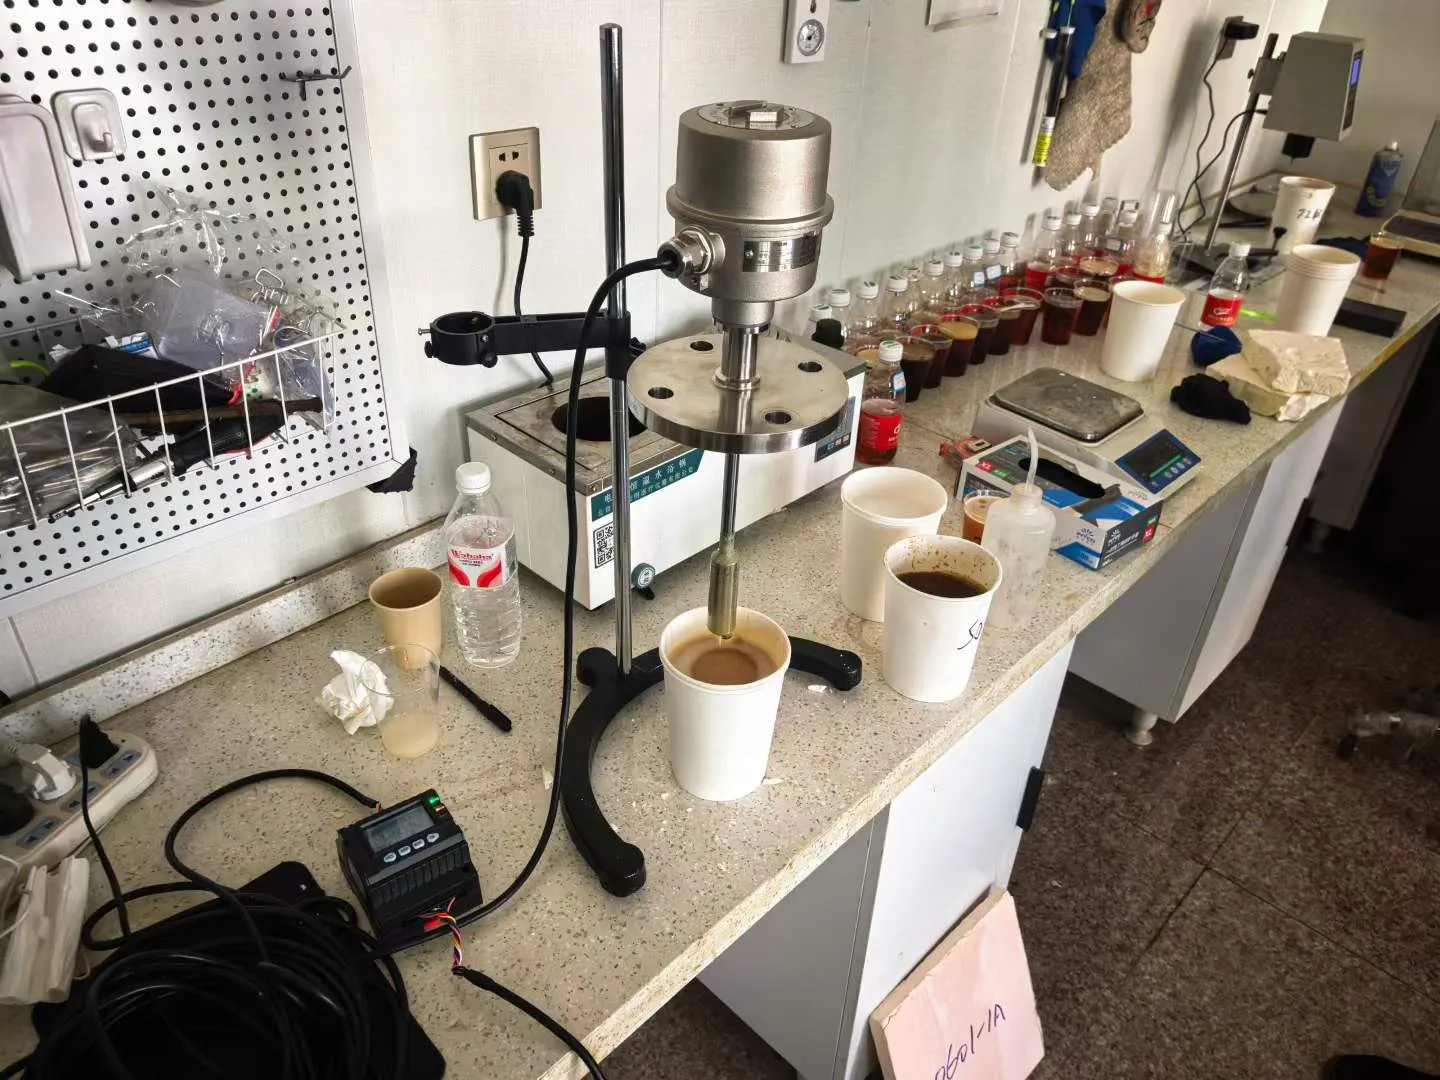
How to Measure Viscosity? Simply put, it involves controlling the temperature, allowing the liquid to flow or undergo shearing, recording the time, torque, or vibration damping, and then converting these values into viscosity units such as mPa·s or cSt.
There are many methods for measuring viscosity. For example, the capillary method can be used for oils; the rotational method for coatings or pastes; and online vibrating viscometers for process pipelines or reactors. If you do not have a viscosity measuring instrument, you can try the falling-ball method.
Pre-Test Preparation: Temperature & Fluid Type
1. Temperature must be controlled and recorded in the results
Fluid viscosity is closely related to temperature and changes with temperature fluctuations. Generally, there is a negative correlation—that is, viscosity typically decreases as temperature increases. The viscosity of the same sample varies at different temperatures, so it is only meaningful to measure viscosity at a constant temperature!
Therefore, in viscosity measurement experiments, the temperature of the entire measurement system must be kept constant to obtain the required data. Any comparison of viscosity data—whether a cross-comparison with third-party data or a longitudinal comparison with your own historical data—must be conducted using a consistent viscosity measurement method to ensure the consistency and validity of the data comparison.
2. Determining Whether a Fluid Is Non-Newtonian
The next step is to clarify the properties of the fluid being tested: whether it is a Newtonian or non-Newtonian fluid.
For example, water, solvents, and most oils are Newtonian fluids, meaning their viscosity does not change with shear rate. Regardless of the measurement method used, the results will be relatively consistent.
However, media such as paint, glue, pastes, and slurries are mostly non-Newtonian fluids; the faster they are stirred, the thinner they may become. For the same sample, readings may differ significantly when measured with a rotational viscometer at 10 rpm versus 50 rpm.
3. Distinguish Between Dynamic Viscosity and Kinematic Viscosity
There are two ways to express viscosity, which customers often confuse:
- Dynamic viscosity (η): Units are mPa·s or cP; 1 cP = 1 mPa·s. Rotational viscometers and online oscillating viscometers measure dynamic viscosity.
- Kinematic viscosity (ν): Units are mm²/s or cSt. Capillary viscometers measure kinematic viscosity, which is commonly used in lubricant standards.
The difference between the two is density: ν = η ÷ ρ. Density can be measured in the lab or continuously with an inline density meter. For example, if an oil has a density of 0.85 g/cm³ and a dynamic viscosity of 100 mPa·s, its kinematic viscosity is approximately 118 cSt. Before comparing the two sets of data, first confirm that they are in the same units. (For a detailed explanation of the difference, see: The Difference Between Dynamic and Kinematic Viscosity)
Measurement Method 1: Capillary Tube
The capillary viscometer is the most widely used type, and its principle is derived from Poiseuille’s law: when a fluid flows through a slender capillary tube in laminar flow under the influence of gravity or pressure, its viscosity is directly proportional to the time taken for the fluid to flow through the capillary and to the capillary constant. Formula: ν = K × t, where ν is the kinematic viscosity, K is the capillary constant, and t is the flow time.
Key advantages: simple structure, high accuracy, and moderate cost; particularly suitable for measuring the kinematic viscosity of Newtonian fluids (such as lubricating oils, solvents, and petroleum products).
Disadvantages: The measurement range of a single capillary is limited, requiring multiple capillaries to meet measurement needs for different viscosities.
Typical example: Cannon glass capillary viscometers from the U.S. (e.g., the 9721 series), which feature an inner diameter tolerance of ±0.001 mm, a NIST-traceable calibration of the constant K, and a measurement range covering 0.5–100,000 mm²/s, fully compliant with international standards such as ASTM D445 and ISO 3105.
Applications: Routine laboratory quality control, factory-release testing of oils, and viscosity determination of light and heavy fluids. For flow measurement of these oils, see oil flow meters selected by viscosity.
Second Measurement Method: Rotational Method
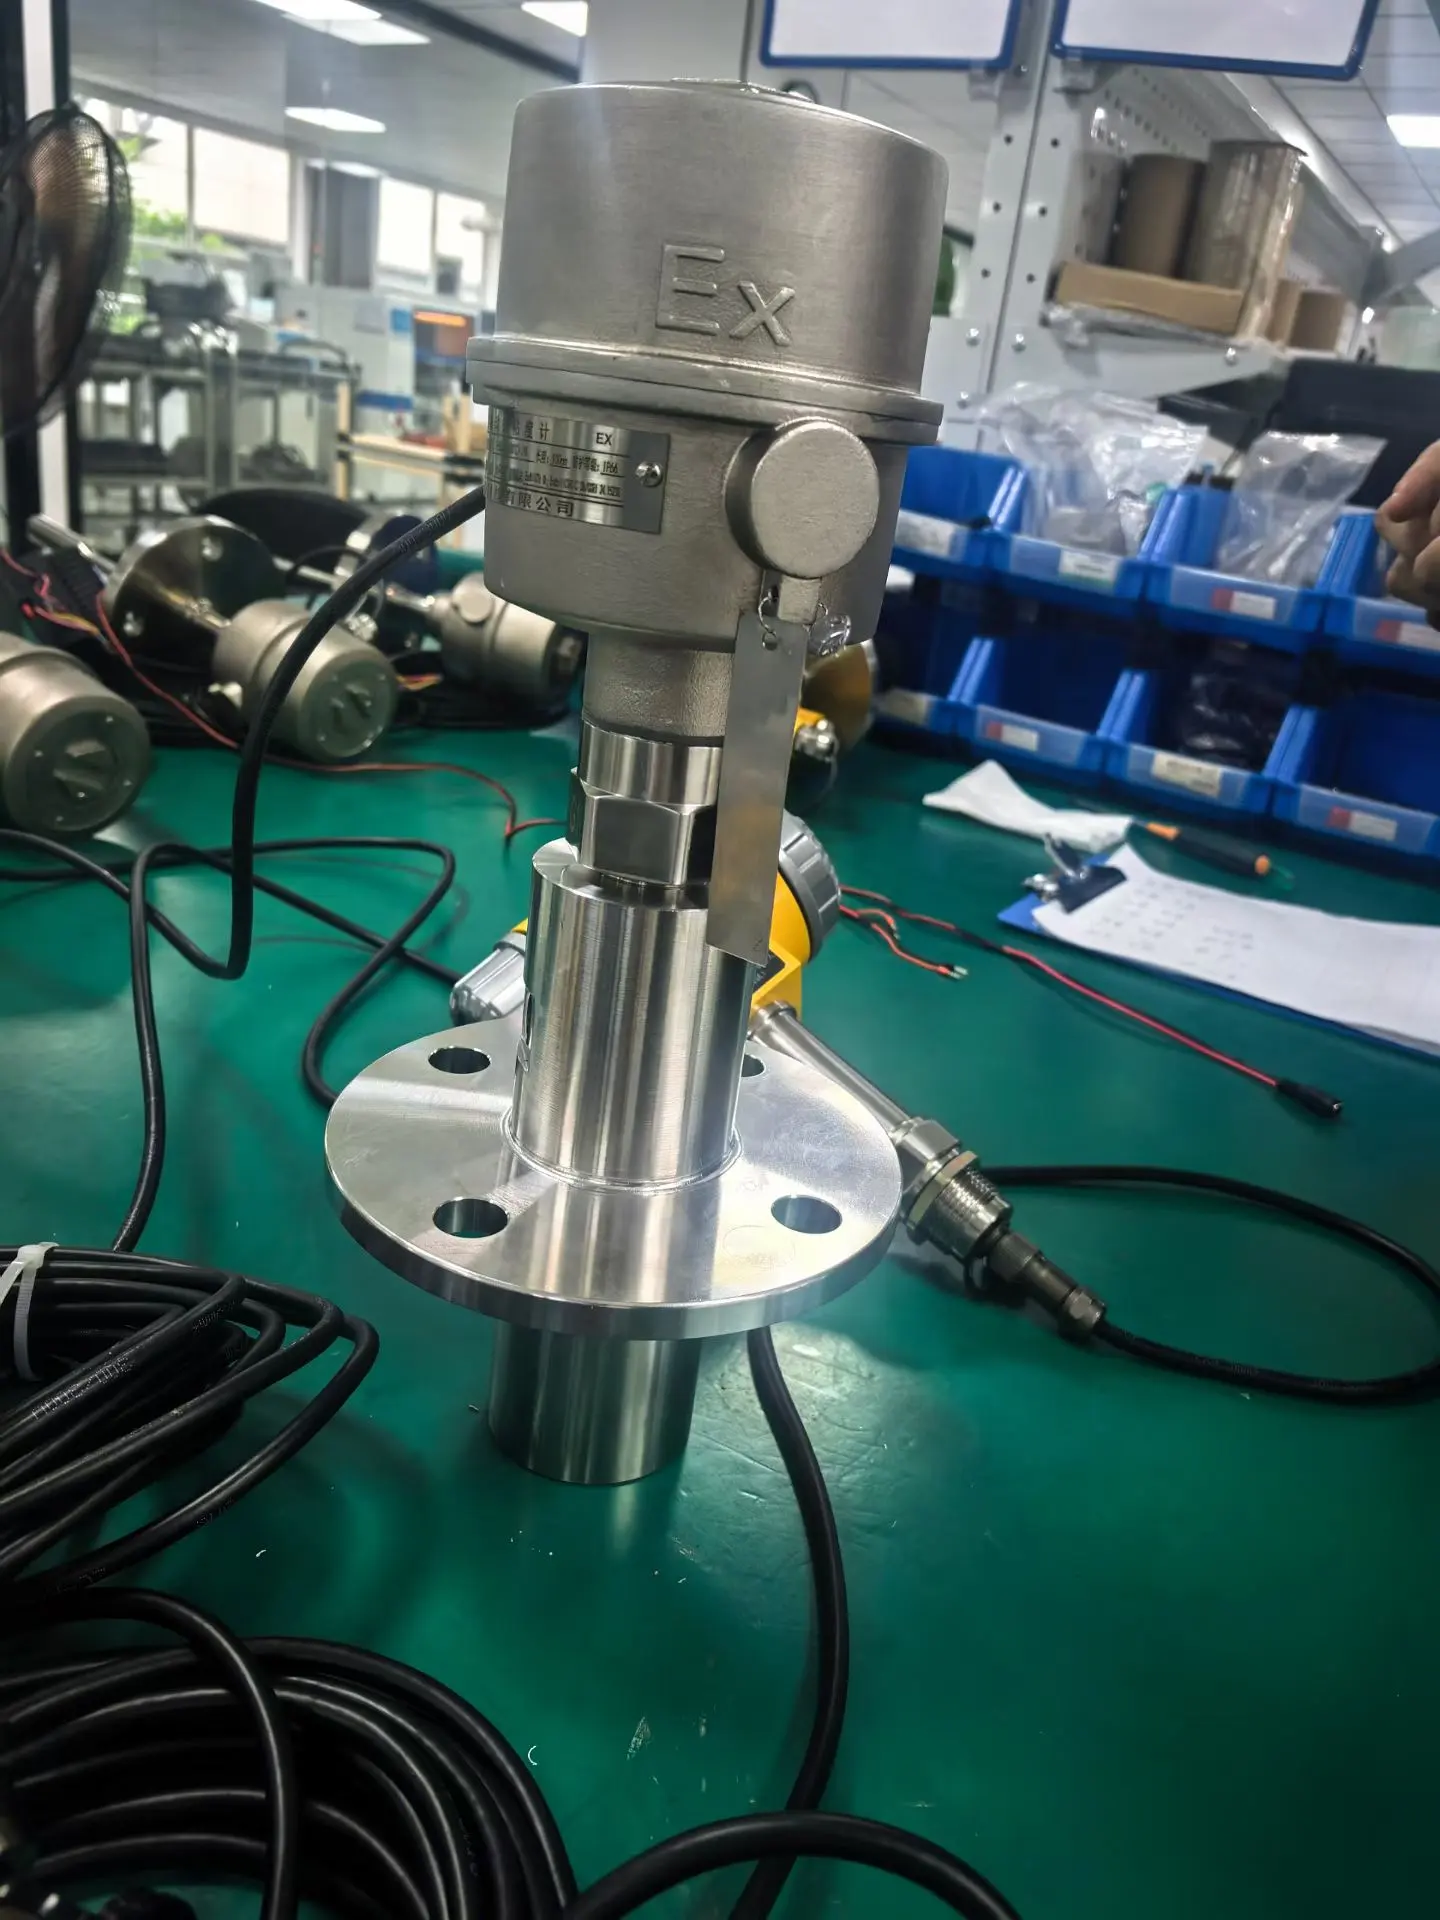
Rotational viscometers primarily calculate viscosity by measuring the shear stress exerted on a rotating measuring head (typically cylindrical or flat) by the sample liquid. A rotor inside the device rotates at a constant speed within the sample liquid, and the viscosity of the sample is determined by the resistance encountered by the rotor as it rotates. Viscosity is closely related to the internal friction of the liquid, and the rheological properties of the liquid are closely linked to its viscosity value; therefore, the viscosity of the liquid can be accurately measured based on the torque generated by the rotating rotor.
The advantages of rotational viscometers include high testing accuracy, ease of operation, and a wide range of applications. Compared to traditional capillary viscometers, rotational viscometers can obtain high-precision measurement data in a shorter amount of time. Furthermore, they display viscosity values directly, eliminating the need for complex manual calculations.
The challenge with rotational viscometers lies in correctly selecting the rotational speed range and measurement parameters, especially when dealing with liquids that exhibit non-Newtonian flow characteristics. Test results may be influenced by multiple factors, such as liquid composition and temperature. Therefore, precise calibration and data analysis capabilities are required.
Third Measurement Method: Falling Ball Method
The falling ball method is a conventional technique for measuring liquid viscosity. By placing a small ball into a liquid, the ball’s descent speed varies depending on the liquid’s viscosity. The liquid’s viscosity is calculated by measuring the time it takes for the ball to fall. When the liquid’s viscosity is high, the ball descends more slowly.
Advantages: This method is advantageous for measuring liquid viscosity under extreme conditions (such as high pressure) and offers a wide measurement range.
Disadvantages: Measurement accuracy is not high; calibration is required; the structure is complex; and it is difficult to automate the measurement process.
Applicable Scenarios: Suitable for measuring high-viscosity liquids such as lubricating oils, particularly under high-pressure conditions.
Fourth Online Measurement Method: Online Vibration-Type Viscometer
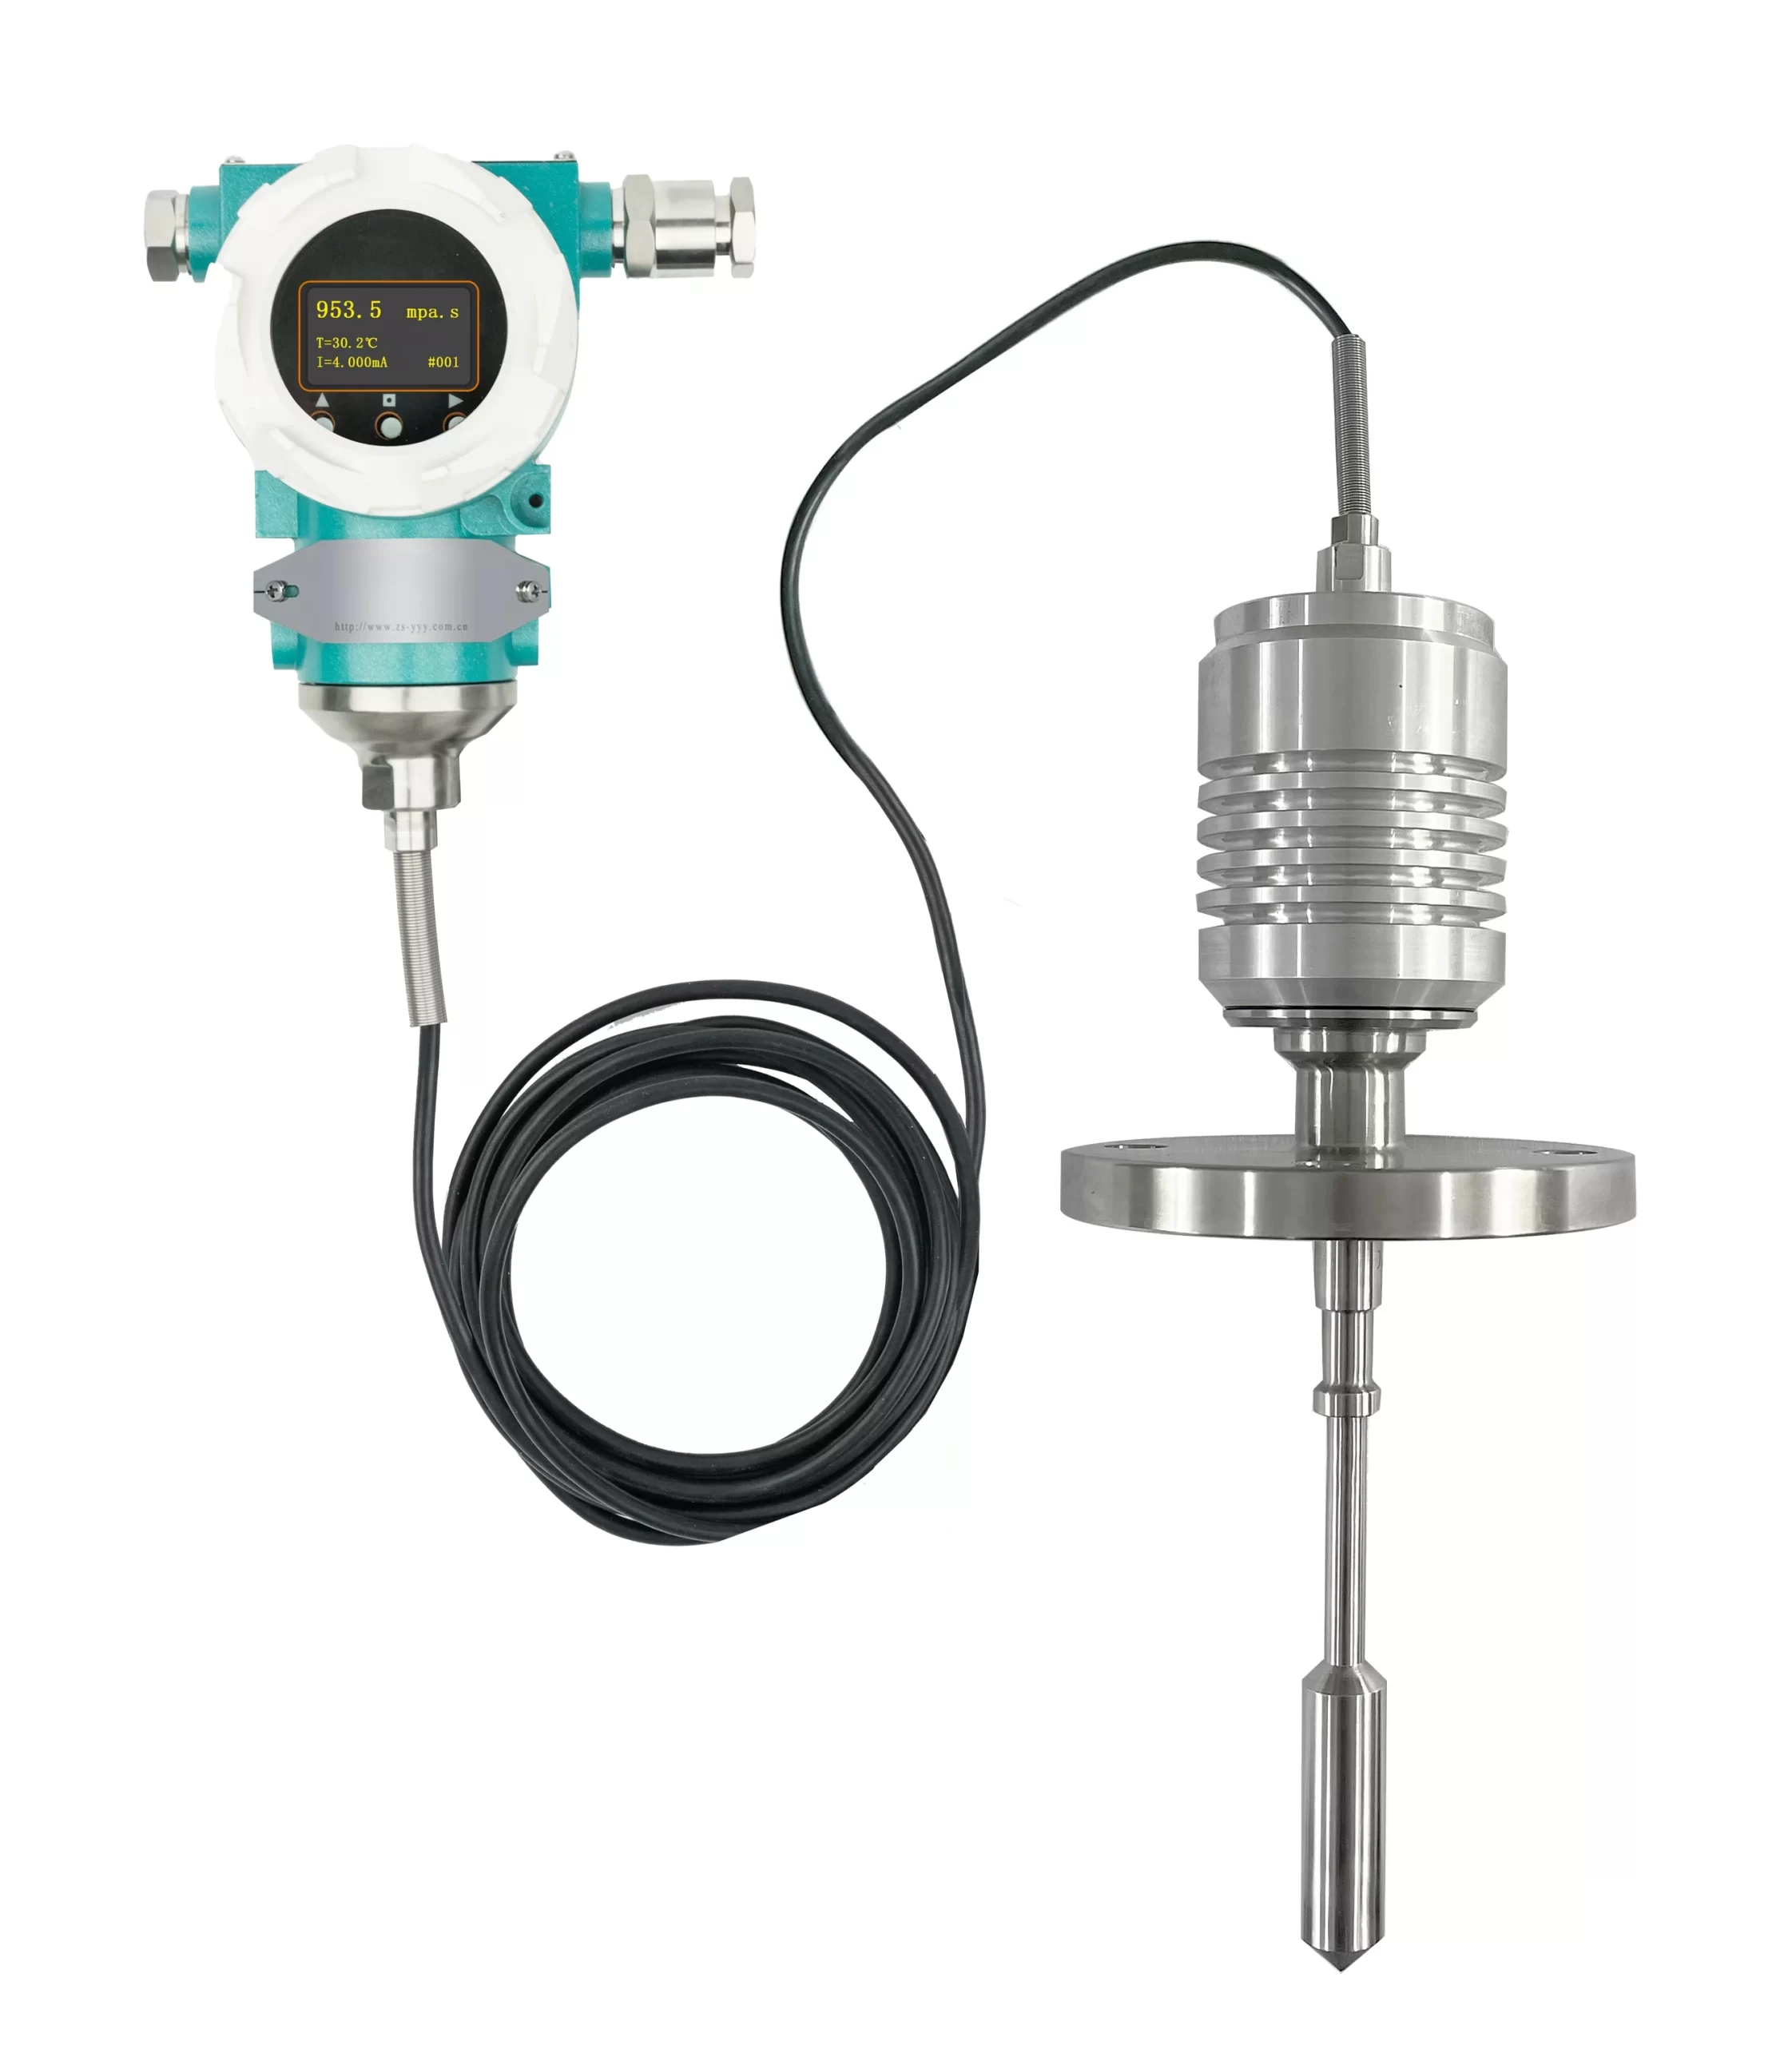
The operating principle of the online vibration-type viscometer is based on the shear stress principle. A vibrating rod or diaphragm is inserted into the fluid; due to the effect of varying viscous damping, its vibration amplitude changes. Furthermore, vibrations in high-viscosity fluids decay faster than those in low-viscosity fluids, so the rate of decline in amplitude can serve as a measure of the fluid’s viscous force. If an electrical circuit is used to replenish the energy consumed by the fluid’s viscous damping, maintaining the vibration of the sensing element at its resonant frequency and a constant amplitude, the fluid’s viscosity can be determined accordingly.
The viscometer can measure the viscosity of various liquids in real time and can be installed on reactors, reaction tanks, and pipelines to measure liquid viscosity. It is particularly suitable for a wide range of industries, including petroleum and petrochemicals, hot-melt adhesives, polyamine resins, food-grade chemicals, glass and synthetic fibers, paints, waterproof coatings, silicones, latex plastics, extrusion machines, glass, insulating varnishes, civil explosives, and research institutions.
Recommended Products
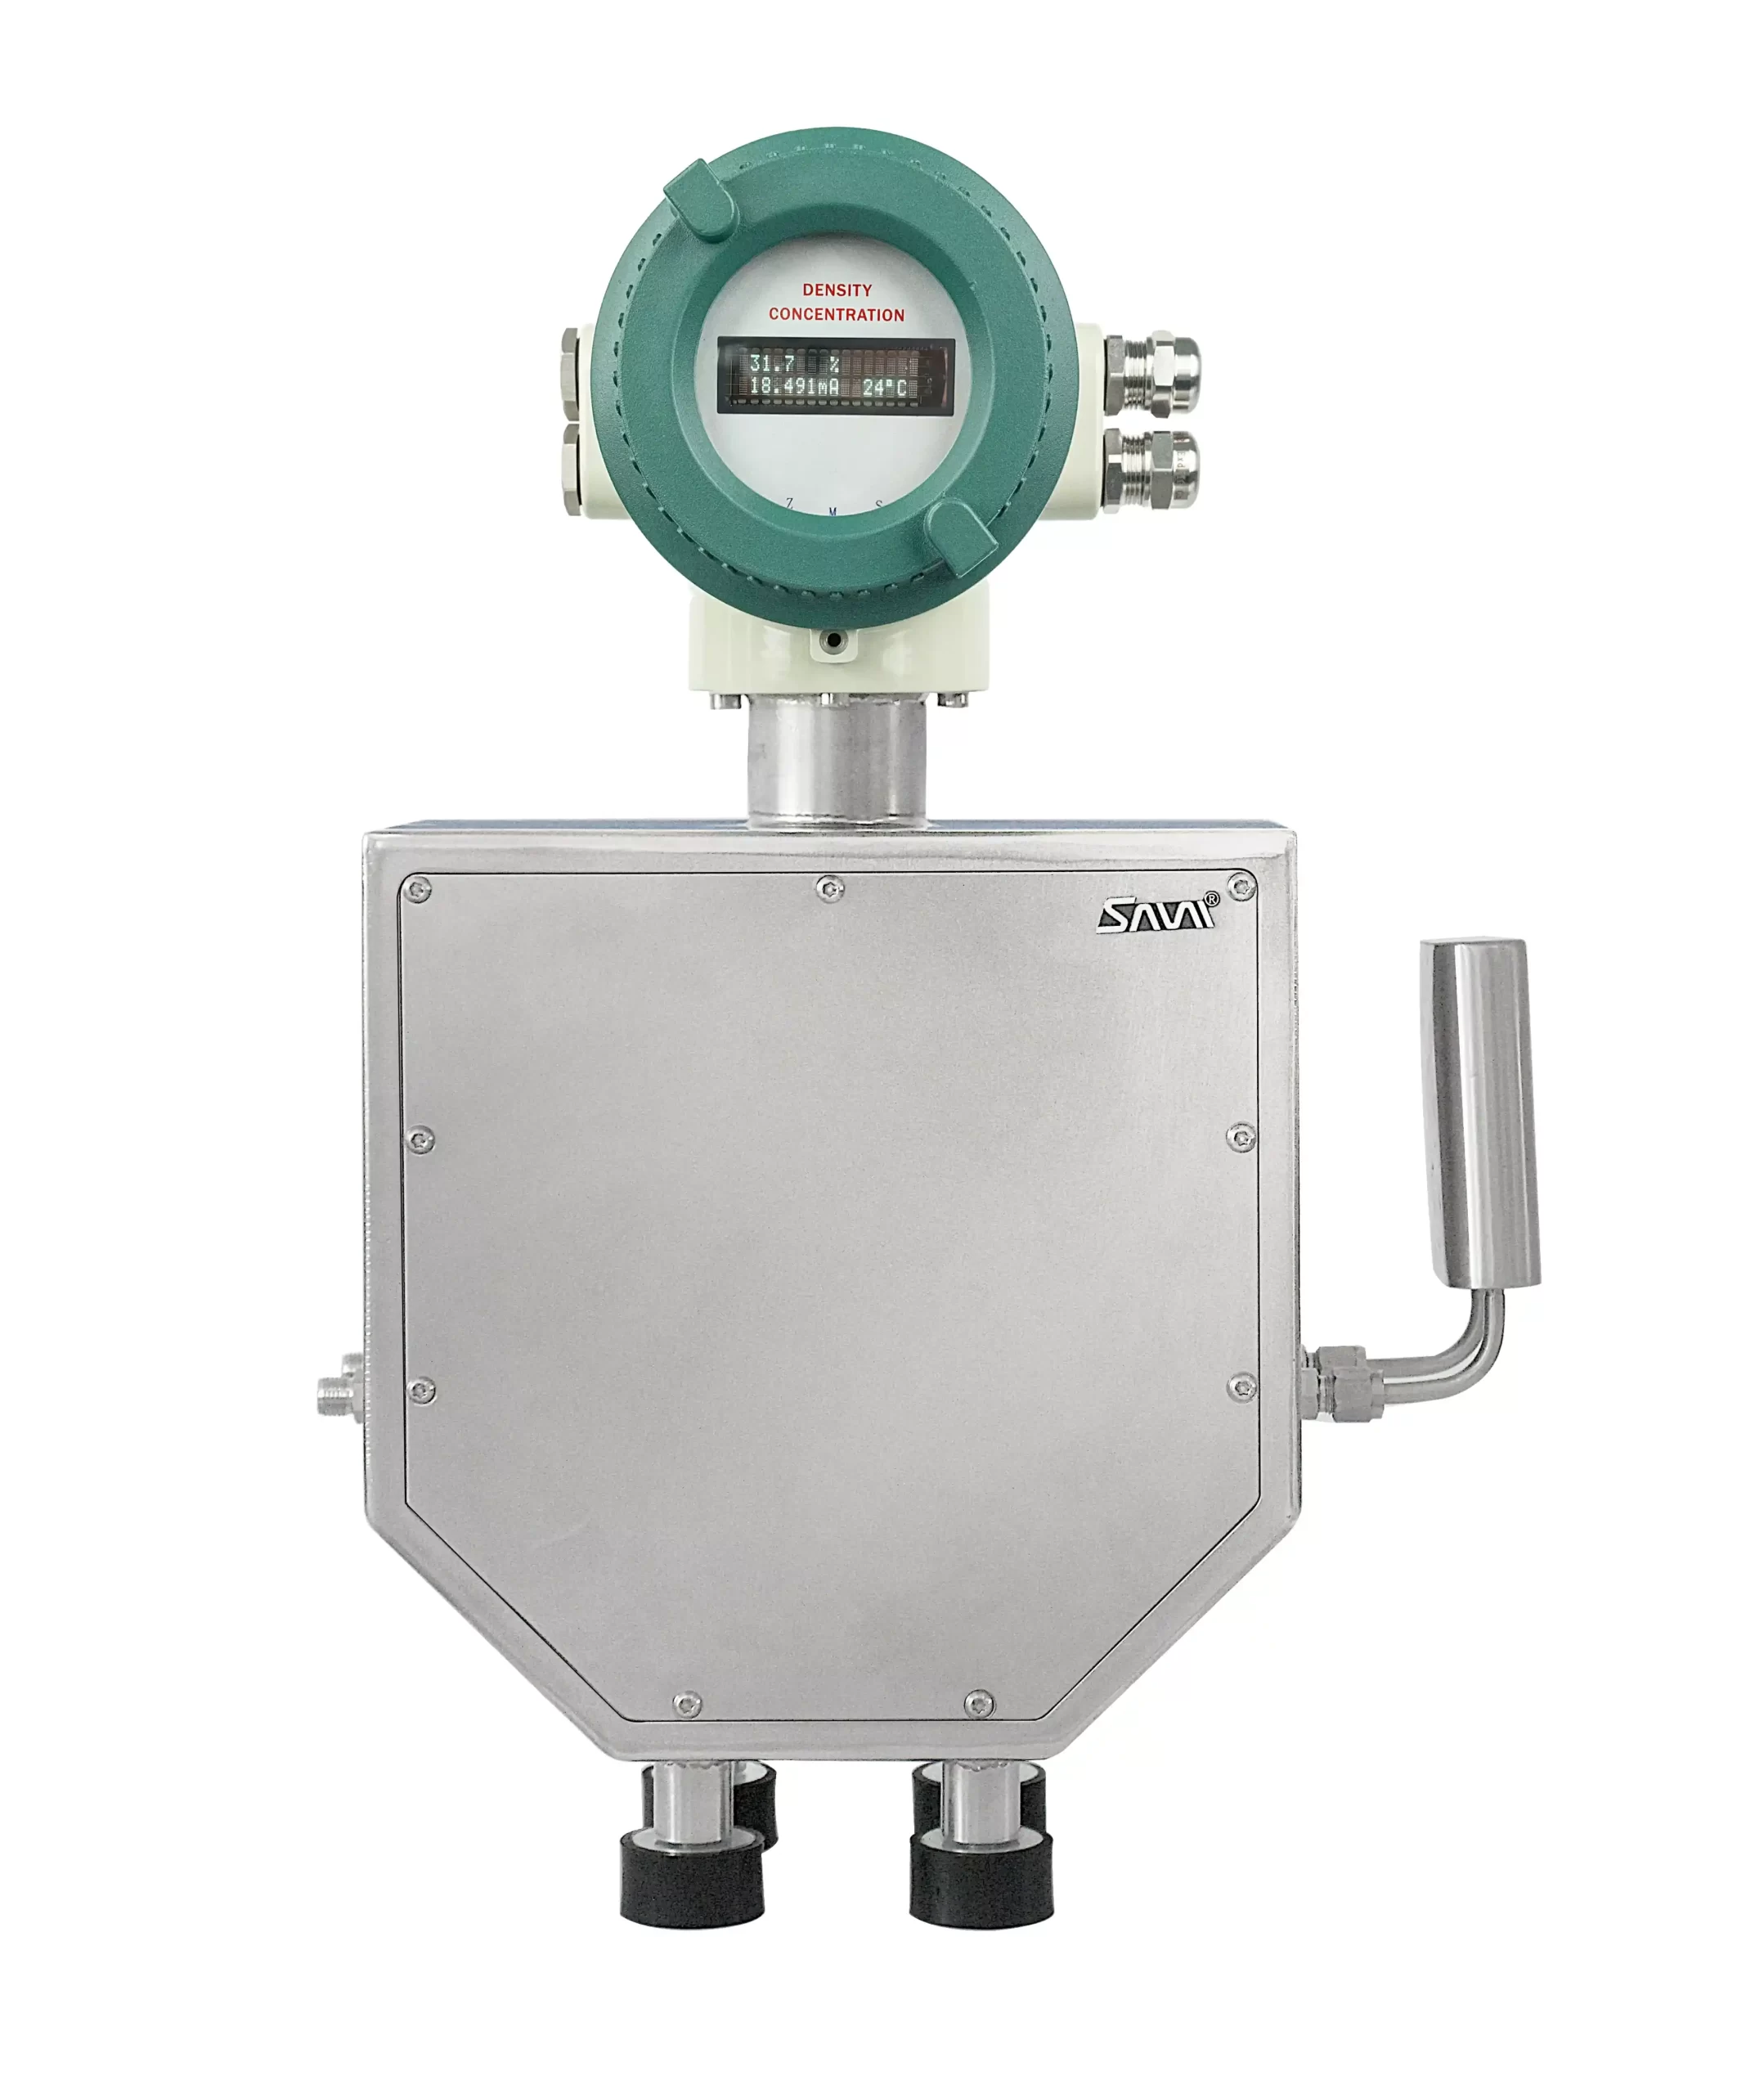
How to Measure Viscosity Inline (Pipes & Reactors)
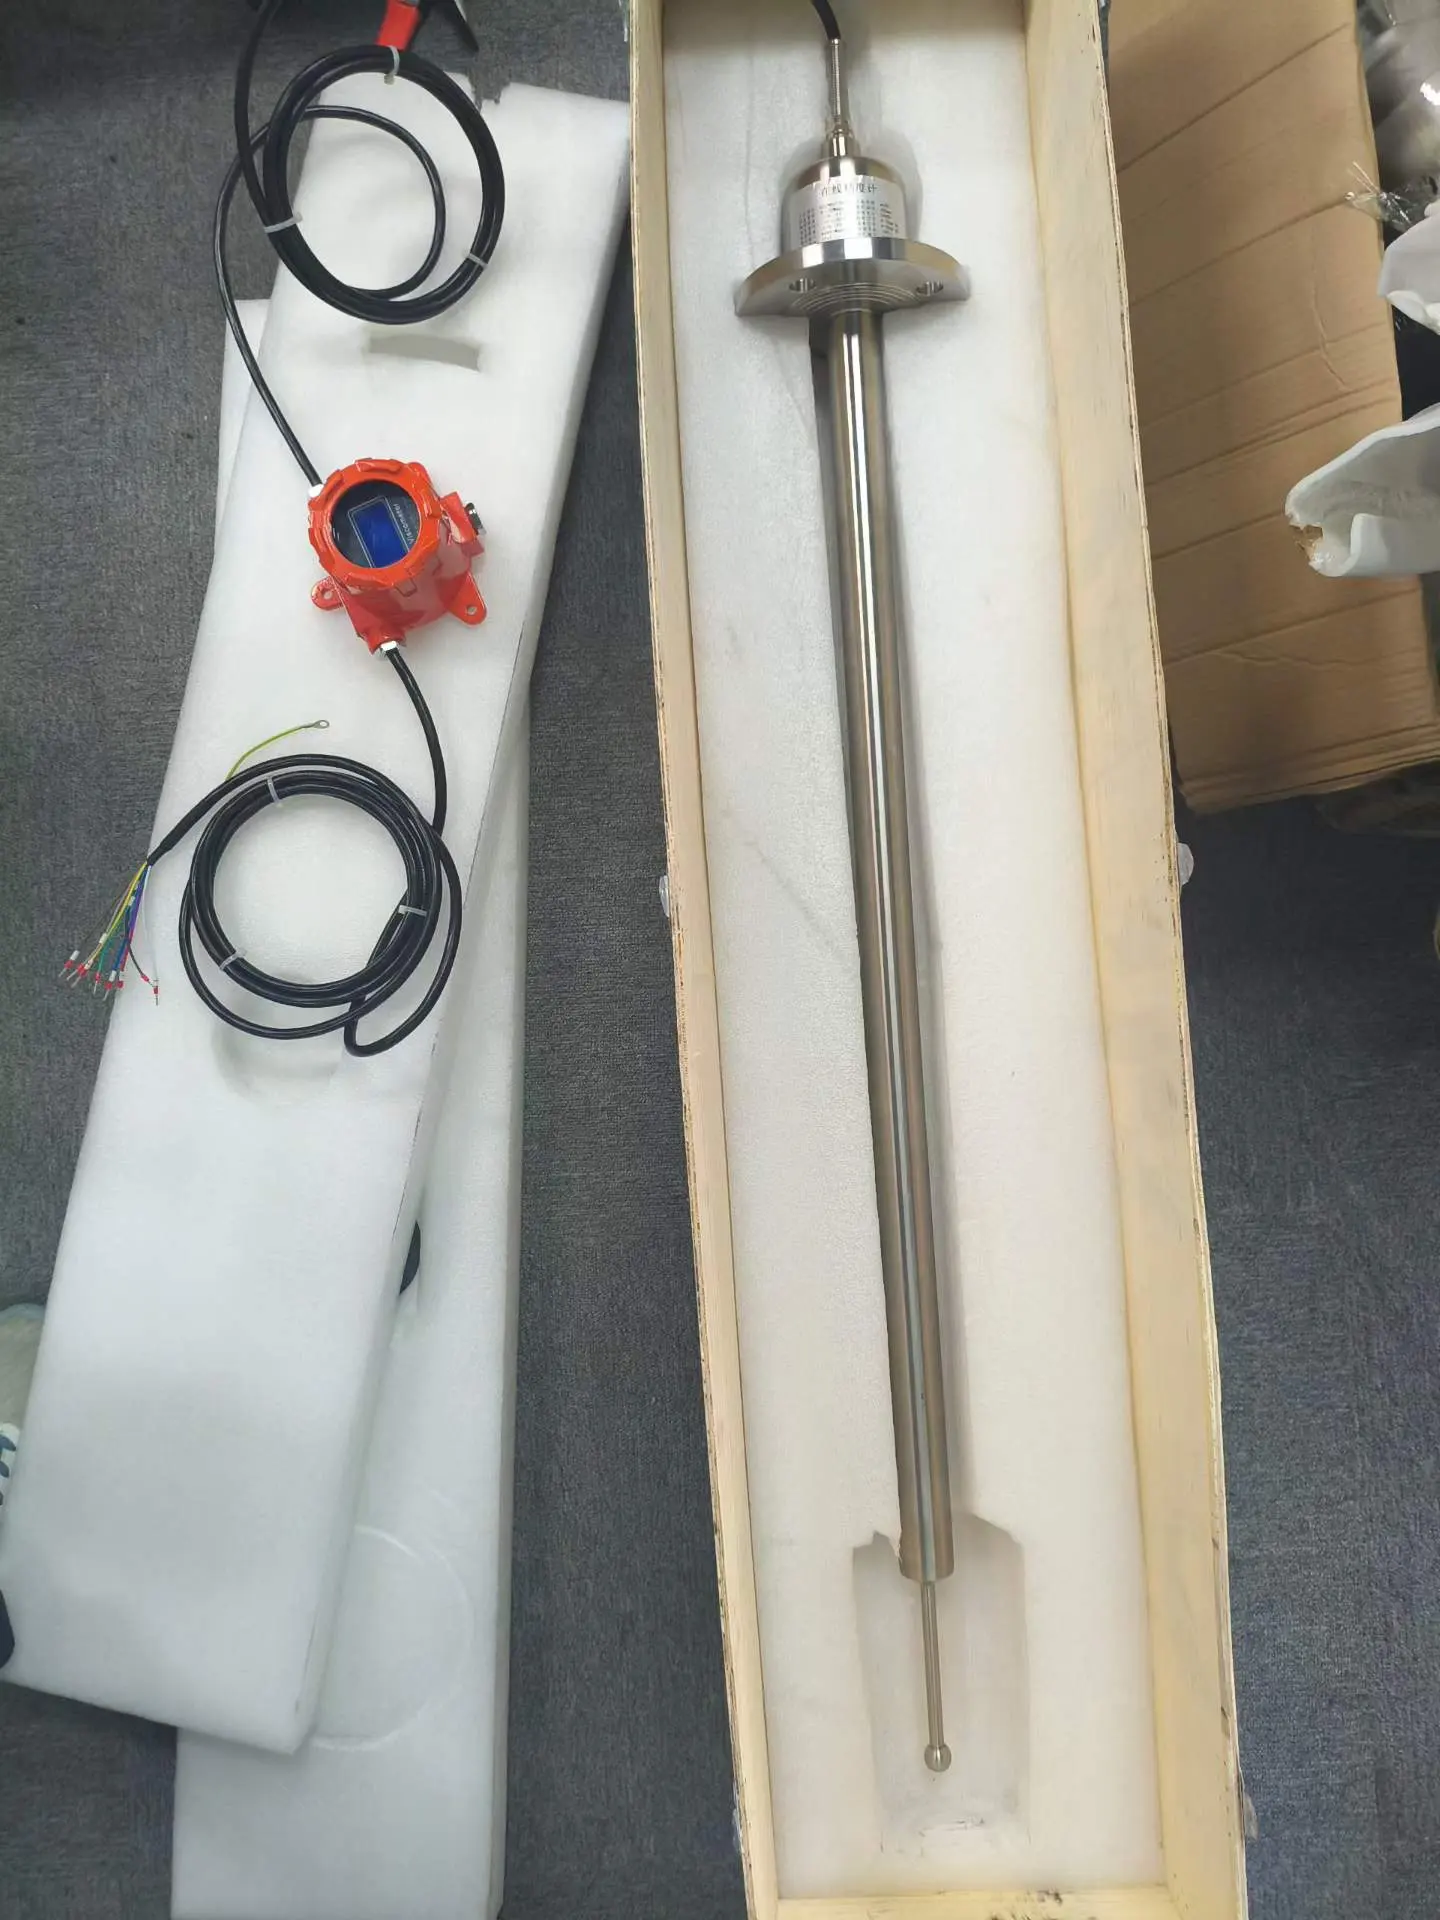
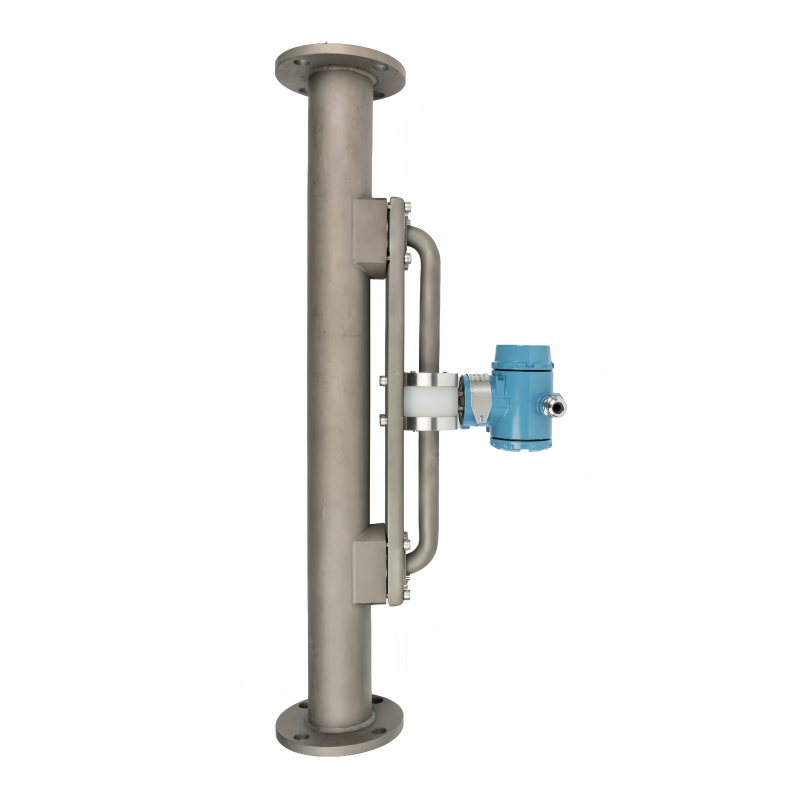
Our online vibrating viscometer works by causing the probe to vibrate slightly at a specific frequency, thereby shearing the surrounding fluid. The more viscous the fluid, the greater the amplitude attenuation; the instrument then converts this attenuation into a viscosity value. It has no moving parts, seals, or bearings, is fully sealed, and can withstand pipeline pressure directly. (For a comparison of the principles behind various types of viscometers, see Types of Viscometers)
Step 1: Select the Measurement Range Based on the Medium
| Range | Typical Fluids |
| 0–100 cP | Oils, solvents |
| 0–1,000 cP | Lubricating oils, low-viscosity silicone oils, coatings |
| 0–100,000 cP | Adhesives, PU, paints, medium-viscosity silicone oils |
| Above 100,000 cP | Resins, high-viscosity silicones, polymerization reactions |
Step 2: Select Installation Location
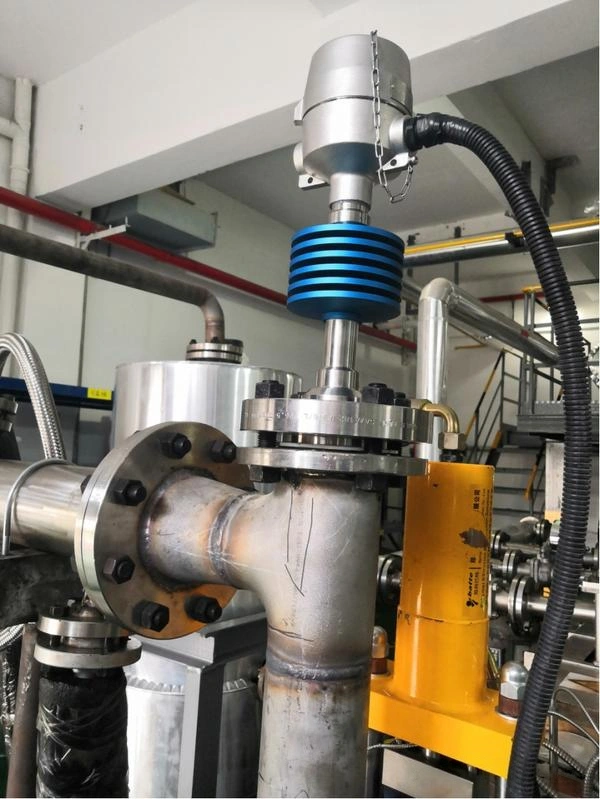
- Piping: Replace the elbow with a tee so that the probe faces the direction of the fluid flow.
- Reactor sidewall: Install at an angle; the angle of inclination depends on the material’s viscosity. This prevents material residue from remaining on the probe after discharge, ensuring it does not affect the next batch of product.
- Reactor top: When the liquid level is far below, use an extended probe inserted vertically; insertion depth can range from 500 to 4,000 mm.
- For high flow rates or fluids containing hard particles, install a buffer plate or an expansion tube to reduce erosion on the probe shaft.
Step 3: Proper Installation
This step is most easily overlooked, but it has a direct impact on readings.
- When inserting the probe, ensure it does not come into contact with the flange opening or the pipe wall. The flange must be coaxial and parallel.
- Apply equal torque to each bolt. Uneven torque can cause zero-point drift.
- Keep the probe away from variable frequency drives, strong magnetic fields, and high-power heat sources. Use double-shielded cables, and ensure reliable grounding.
Step 4: Zero Calibration and Verification with Standard Solution
The fixed fixtures used for factory calibration cannot be exactly the same as those on-site; vibrations and shocks during transportation can also have an impact. Therefore, it is normal for readings to show a slight positive or negative deviation after installation—there is no need to panic.
- First, perform a one-button zero calibration;
- Test and compare using a standard solution;
- If there is still a deviation, connect to the host computer software via RS485 and perform a 24-point on-site calibration.
Step 5: Compare with Laboratory Data
Online readings and laboratory readings typically follow the same trend, but there will be a fixed deviation in the numerical values. This is because online measurements reflect viscosity under actual operating conditions, where temperature, pressure, and flow rate differ from those in the laboratory. It is recommended to take synchronized samples for comparison during the initial commissioning period to establish a correlation between the two sets of data before using them for quality control.
Step 6: Integrate with the Control System
The instrument outputs two 4–20 mA channels (viscosity and temperature) and features RS485 (Modbus) communication, allowing direct connection to a PLC or DCS. It can trigger an alarm when viscosity exceeds limits or automatically adjust feed rates and solvent addition. Paired with a Coriolis density meter, it can also give you kinematic viscosity in real time.
For specific parameters and selection guidance on online viscometers, please visit our Online Viscometer Product Page.
Viscosity is the internal frictional resistance experienced by a fluid as it flows, and it directly affects product quality, formulation stability, pumpability, flow measurement accuracy, and process stability. In industries such as petroleum refining (see our high-viscosity liquid monitoring solutions), chemicals, food, and pharmaceuticals, viscosity abnormalities are often early indicators of process failures.
Accurate viscosity measurement is crucial in both laboratory and industrial production settings. It is important to select the appropriate viscosity measurement equipment, follow the necessary operating procedures, and pay special attention to details such as temperature.
Our Sino-Inst online vibrating viscometer features mature technology and stable performance. It offers a wide measurement range of 1–1,000,000 cP, and the sensor can withstand temperatures up to 450°C. If you require online viscosity measurement, please feel free to contact our sales engineers at any time to customize a viscosity measurement solution.
Further Reading

Zhang Wei, possesses 20 years of experience as an automation instrumentation engineer, specializing in the research, design, installation, commissioning, and maintenance of automation instruments.
Face to various instrument communication protocols (such as Modbus, Profibus, etc.), with solid hardware circuit design and software programming skills (proficient in C language and PLC programming). Has extensive project experience; projects he has led and participated in have all achieved outstanding results, improving product accuracy, reducing costs, and increasing production efficiency.
Possesses excellent communication and coordination skills and a strong team spirit, enabling him to quickly respond to customer needs and provide high-quality automation instrumentation solutions.
Want to see more of our engineering guides in Google Search? Add Sino-Inst as a preferred source.